-
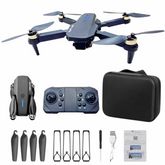
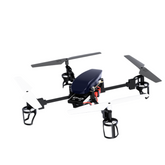
E88 EVO Brushless Motor Drone Kit with 4K UHD Camera and Intelligent Flight ModesE88 EVO Brushless Motor Drone Kit with 4K UHD Camera and Intelligent Flight Modes The Advanced Brushless Motor Drone with 4K UHD Camera, 5G Wi-Fi, Smart Obstacle Avoidance, Long-Range Control, and Intelligent Flight Modes is designed for outdoor exploration and vlogging enthusiasts. This state-of-the-art...
- Rs. 1,849
Rs. 2,999- Rs. 1,849
- Unit price
- per
Save Rs. 1,150 -
P18 Pro Foldable FPV Drone with Triple HD 4K Camera and Brushless MotorP18 Pro Foldable FPV Drone with Triple HD 4K Camera and Brushless Motor The P18 Pro Foldable FPV Drone is a feature-rich aerial photography tool designed for both beginners and seasoned drone enthusiasts. Equipped with a 4K HD triple camera system, it delivers stunning...
- Rs. 2,999
Rs. 3,499- Rs. 2,999
- Unit price
- per
Save Rs. 500 -
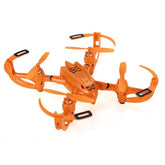
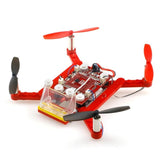
DIY CX-002 Lark QuadcopterDIY CX-002 Lark Quadcopter Steps to assemble the LARK Quadcopter Take the bottom frame of the quadcopter (A-2) and place the battery (A-12) at the centre Take out the electronic board (A-11), snap it into the frame (A-14) and mount it over the battery...
- Rs. 3,249
Rs. 3,589- Rs. 3,249
- Unit price
- per
Save Rs. 340 -
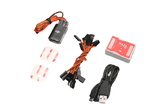
DJI Naza-M Lite Multi-Rotor Quadcopter Flight Controller SystemDJI Naza-M Lite Multi-Rotor Quadcopter Flight Controller System The DJI Naza-M Lite Multi-rotor quadcopter flight controller is perfect for entry-level drone enthusiasts. The advanced attitude stabilization algorithm of the DJI Naza flight controller inherits the outstanding flight stability of DJI drones and quadcopters. The flexibility...
- Rs. 6,824
Rs. 8,644- Rs. 6,824
- Unit price
- per
Save Rs. 1,820 -
Heliway 902 Series 6 Axis Quadcopter KitHeliway 902 Series 6 Axis Quadcopter Kit The Heliway 6 Axis quadcopter kit is manufactured with nontoxic ABS material which makes it the ideal DIY toy kit for children. The ABS material used in the Heliway Quadcopter kit makes the quadcopter strong and stable....
- Rs. 4,813
Rs. 5,192- Rs. 4,813
- Unit price
- per
Save Rs. 379 -
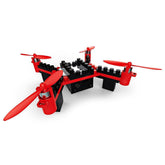
DIY 4CH 6-Axis Gyro Mini Quadcopter KitDIY 4CH 6-Axis Gyro Mini Quadcopter Kit This DIY 4 channel mini quadcopter kit is a building block toy designed for kids to develop imagination and an interest in electronics and technology. They have a special design and are easy to install and can...
- Rs. 2,924
Rs. 3,589- Rs. 2,924
- Unit price
- per
Save Rs. 665 -
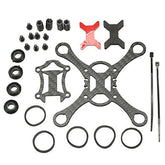
Smart 100 Carbon Fiber FPV RC Racing Quadcopter Frame Spare Parts Accessories KitMaterial: carbon fiber Dimension: 85x85x25mm Compatible with 65mm propeller Compatible with 8520 coreless motor
- Rs. 660
Rs. 750- Rs. 660
- Unit price
- per
Save Rs. 90 -
Pluto Guru RC Mini Drone Kit with 1080p Camera for STEM EducationPluto Guru RC Mini Drone Kit with 1080p Camera for STEM Education The Guru nano-drone, an expansion for the popular Pluto drone, is designed as an educational tool, functioning as an excellent quadcopter drone kit for beginners. It offers a perfect entry point to...
- Rs. 13,699
Rs. 15,499- Rs. 13,699
- Unit price
- per
Save Rs. 1,800

Best Price Guarantee

Ready Stock for Bulk Purchase

Dedicated Account Managers

5% GST Benefits for Eligible SEZ and Edu

Technical Support Available

1-Year Manufacturer Warranty


