

People Also Buy

HC-SR505 Mini PIR (Passive Infrared) Motion Sensor

HC-SR501 PIR Sensor (Passive Infrared Sensor) + IR Proximity Sensor

HCSR501 PIR Motion Sensor (Passive Infrared Sensor) (Pack of 25)
Found a better price?
Let us know!
We'll try to match the price for you
Package Includes:
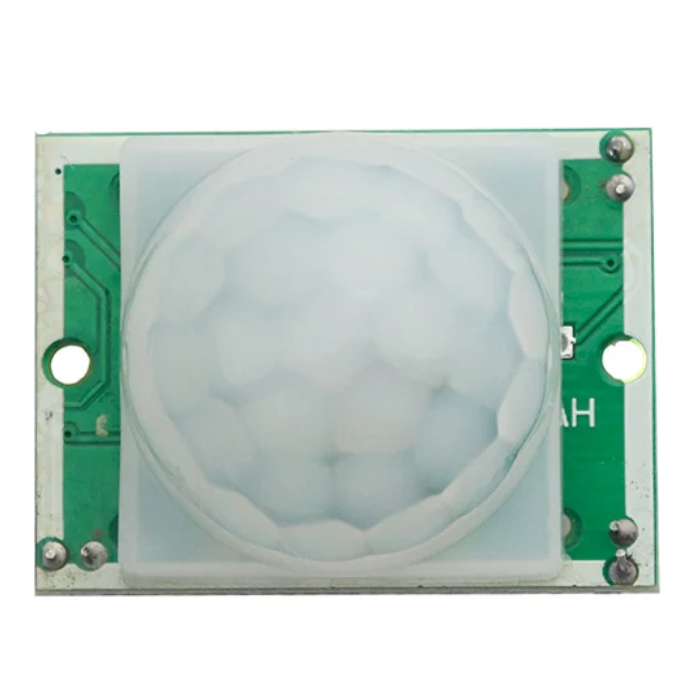
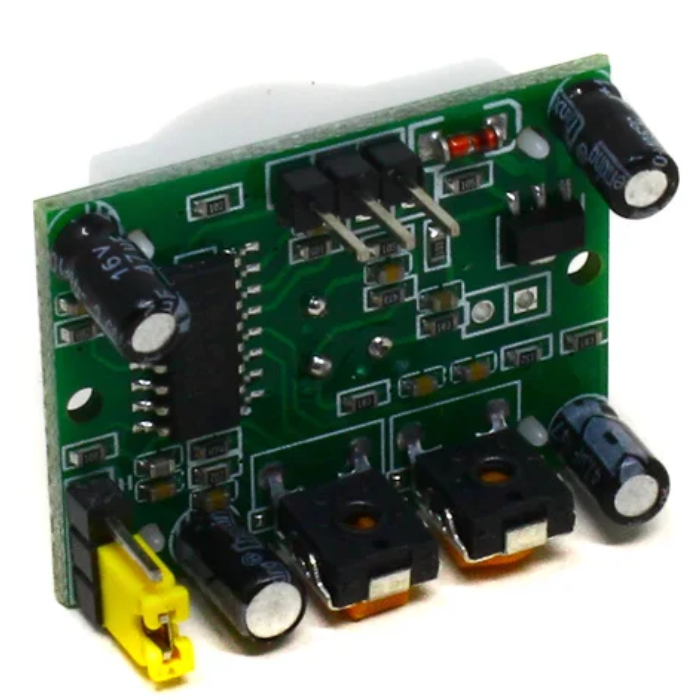
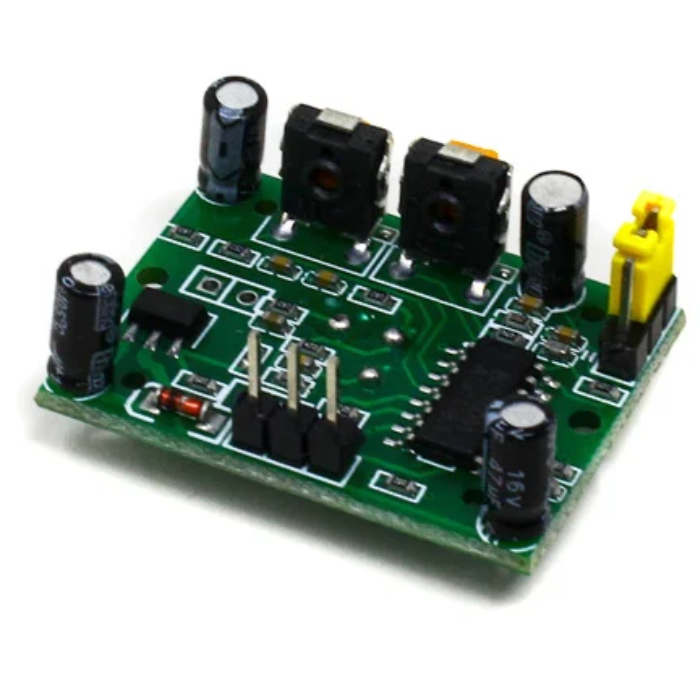
- 1 x HCSR501 PIR Motion Sensor
Specifications:
| Model | HCSR501 |
| Operating Voltage | 4.5 ~ 20V |
| Average Current Consumption (mA) | 0.06 |
| Distance Measuring Range (cm) | 300 ~ 700 |
| Dimensions | 32 x 24 x 18 mm |
| Weight | 15 grams |
1. What is an HCSR501 Sensor?
The HCSR501 PIR sensor is a passive sensor (which means it hardly uses any energy to work). It detects infrared radiation from a passing heat source. You can use this to make a motion detection device, a light switch, or you could string many together and you could make an instrument that you won’t need to touch.
2. What is the Range of PIR Sensor?
Indoor passive infrared: Detection distances range from 25 cm to 20 m.
Indoor curtain type: The detection distance ranges from 25 cm to 20 m.
Outdoor passive infrared: The detection distance ranges from 10 meters to 150 meters.
Outdoor passive infrared curtain detector: distance from 10 meters to 150 meters
3. What is the difference between PIR and IR Sensor?
The IR sensors detect whether the light from the transmitter is emitted by an object or a person. Whereas, the PIR sensors detect changes in the levels of energy around the area.
If the PIR sensor is installed towards the changing environment, it may let off a false alarm due to the change in the way the air flows; however, IR sensors must be installed facing the motion.
IR sensors are usually only installed on the outside of properties, whereas PIR sensors are usually installed inside.
PIR sensors don't actually emit the infrared; objects give the sensor infrared rays. This differs from IR sensors, which do actually infrared.
4. What is pir sensor?
A PIR sensor, or passive infrared sensor, is an electronic tool that detects motion through monitoring temperature changes. It works on the concept that all objects emit and absorb thermal radiation. This device comprises two parts: a pyroelectric component which converts heat into electricity and an optical filter to block outside light sources. Upon detecting movement within its range, the PIR sensor sends out an electrical signal triggering various functions like activating lights or sounding alarms. With its ability to provide cost-effective and energy-efficient solutions, this technology finds widespread use in security systems, automatic doors as well as controlling lighting in both residential and commercial settings.
5. How does a pir sensor work?
A PIR (Passive Infrared) sensor is a highly sophisticated and versatile technology utilized in various industries, including security and home automation. This innovative sensor works by detecting changes in infrared radiation within its field of view caused by the movement of warm objects, such as humans or animals. PIR sensors apart from other motion detection technologies is their passive nature - they do not emit any energy but instead rely on capturing existing heat signatures to trigger an alert or action. This makes them incredibly efficient and cost-effective while providing accurate detection levels for enhanced safety measures.
6. What is pir sensor used for?
A PIR (Passive Infrared) sensor is a highly efficient and versatile device used for motion detection in various industries. Its ability to detect changes in infrared radiation makes it ideal for detecting movement of human beings, animals, or objects within its range. This valuable tool is commonly used as an essential security measure in residential and commercial buildings, providing protection against intruders and potential threats. Additionally, PIR sensors are widely implemented by lighting companies to enable automatic switching on/off functionality based on human presence or absence from the area. Investing in high-quality PIR sensors can greatly enhance your safety measures while also contributing towards energy efficiency.
7. How to calibrate pir sensor?
Calibrating a PIR (passive infrared) sensor is an essential step in ensuring accurate and reliable detection of motion. Properly calibrating these sensors for optimum performance. The first step in calibration is to adjust the sensitivity level according to the specific environment where the sensor will be used. Next, it's crucial to set up proper triggers and delays based on desired response time and elimination of false alarms. Fine-tuning may also involve adjusting range settings depending on distance requirements. Finally, after thorough testing, recheck all parameters before installation for precise functionality. By following these steps diligently, your PIR sensor can detect even subtle movements accurately and efficiently.
8. How to check pir sensor?
The importance and efficacy of using pir sensors to enhance security measures. However, it is crucial to ensure that these sensors are functioning properly before relying on them for critical tasks. To check if your pir sensor is working correctly, follow these steps: First, inspect all connections and make sure they are secure. Next, use a multimeter to test voltage levels at various points along the circuitry. Then cover or obstruct one lens of the sensor and observe if there is any change in readings on your multimeter screen. Lastly, adjust sensitivity settings as needed based on environmental factors such as light sources or movement patterns within its range.
9. How to connect pir sensor to esp8266?
Connecting a PIR (Passive Infrared) sensor to an ESP8266 microcontroller is a fairly simple task that can greatly enhance the capabilities of your IoT projects. To start, ensure that you have both components and appropriate wiring tools on hand. The first step is connecting the 5V power supply from the ESP8266 to the VCC pin on your PIR sensor. Next, connect any GND pins together followed by connecting one GPIO pin from the ESP8266 to OUT or DOUT pin on your PIR sensor. With these connections made, upload code onto your microcontroller using Arduino IDE and test out its range sensitivity and motion detection abilities with confidence.
10. How to interface pir sensor with arduino?
Interfacing a PIR (Passive Infrared) sensor with an Arduino board is a simple yet crucial step in creating effective motion-sensing projects. To interface the PIR sensor with your Arduino, you will need to connect it using 3 wires - power supply, ground, and signal output wire. By correctly identifying these pins on both components and connecting them appropriately, you can easily configure your Arduino to receive input from the PIR sensor whenever there is any movement within its range. This seamless integration enables you to create innovative solutions that leverage motion detection technology effectively.
11. How to test pir sensor with multimeter?
To test a PIR (Passive Infrared) sensor with a multimeter, follow these simple steps. First, set the multimeter to DC voltage mode and connect its positive lead to one of the sensor's wires and negative lead to ground wire. Then activate the PIR sensor by passing an object in front of it or using its sensitivity adjustment knob. You should see the meter reading change from 0 volts to around 3-5 volts depending on your specific model's operating range. If there is no change in voltage, check for loose connections and ensure that power is reaching the sensor properly. This testing method ensures accurate functionality assessment before installation or troubleshooting any issues during use.
12. How to adjust a pir sensor?
A correctly calibrated PIR sensor is crucial for precise motion detection and triggering desired actions. To achieve this, begin by rotating the sensitivity knob to your desired level - clockwise or counterclockwise depending on specific needs. This will determine how responsive the sensor is within its range of coverage. Next, adjust the time delay setting which regulates how long the output signal remains high upon detecting movement. For more accurate control over functionality, you can also fine-tune other parameters such as light activation and pulse mode. It's vital to conduct thorough testing after each adjustment until optimal performance is achieved.
13. How to decrease sensitivity of pir sensor?
To decrease its sensitivity and ensure accurate detection, there are several steps that can be taken. First, adjusting the sensor's position to reduce its field of view will limit false triggers caused by movements outside the desired monitoring area. Additionally, covering or shielding parts of the sensor can also help eliminate interference from external factors like sunlight or heat sources. Another effective method is reducing the sensitivity level through settings on compatible devices or programming microcontrollers accordingly. By following these methods carefully, one can effectively decrease the sensitivity without compromising on accuracy for optimal performance.
14. How to disable pir sensor?
To disable a PIR sensor, first locate the power source and turn off the electricity supply. Next, carefully remove the cover of your PIR sensor by unscrewing it or using a flathead screwdriver to gently pry it open. Once you have access to its internal components, look for the small DIP switch that controls its sensitivity level and flip this switch into position 0. This will effectively deactivate your PIR sensor's motion detection function. Remember to securely close back up the cover once you are finished disabling the device in order to avoid any potential safety hazards from exposed wires or loose parts.
15. How to increase output voltage of pir sensor?
Increasing output voltage for PIR (Passive Infrared) sensors can greatly improve their detection range and accuracy, ultimately enhancing overall performance. To achieve this, one must ensure that the sensor is powered by a stable power source capable of providing sufficient voltage. Additionally, using an external amplifier or booster circuit can also help increase output voltage without compromising on reliability or efficiency. Moreover, optimizing component placement and minimizing interference from other devices in close proximity can further enhance sensitivity and boost signal strength to produce higher voltages at the sensor's output pins. By implementing these strategies diligently, you can effectively boost your PIR sensor's capabilities and meet customer demands for high-performance security solutions.
16. How to increase range of pir sensor?
Increasing the range of pir sensors can greatly benefit businesses and homeowners alike. To achieve this, there are several factors to consider which include positioning, sensitivity adjustments, power supply quality and interference reduction measures. First off, proper placement is crucial as it ensures maximum coverage area for optimum detection capabilities. Additionally, fine-tuning sensitivity levels based on environmental conditions such as temperature changes or small animal movements can prevent false alarms while still maintaining accurate detection results. Furthermore, a stable power source should be utilized to ensure consistent performance, and implementing noise filters or shielded cables can help reduce potential interferences from nearby electronics devices. These simple yet effective steps will ultimately increase the overall range and effectiveness of pir sensor systems, making them a valuable investment for any security setup.
17. How to interface pir sensor with raspberry pi?
One of the most effective ways to increase security in a variety of settings is by integrating a PIR (passive infrared) sensor with a Raspberry Pi. The process involves connecting the sensors' power and ground pins to appropriate GPIO (general purpose input/output) pins on the Raspberry Pi board, as well as enabling an interrupt for receiving signals from the sensor. Once properly set up, this interface allows for real-time detection of motion or heat changes within its sensing range, triggering actions such as capturing images or sending alerts through Wi-Fi connectivity. Utilizing PIR sensors with Raspberry Pis enhances both safety and convenience without compromising on user-friendliness.
18. How to simulate pir sensor in proteus?
To simulate a PIR (Passive Infrared) sensor in Proteus, first we need to have the necessary components and tools. These include an Arduino board, a breadboard, jumper wires, and of course the Proteus software itself. Once these are all set up and ready to go, open Proteus and create your desired circuit using the component library provided. Next, connect your virtual Arduino pins accordingly to match with the physical connections on your breadboard. Finally add code for detecting motion through PIR sensors onto the virtual microcontroller's program space in order for it to function properly during simulation mode. With this simple yet effective process you can now accurately test out your project designs before implementing them into real-life scenarios.
19. How to wire a pir sensor to an existing light?
Wiring a PIR sensor to an existing light may seem like a daunting task, but with the right approach and tools, it can be done easily. The first step is to cut off power supply at the main circuit breaker before working on any electrical connections. Next, determine where you want to install the sensor and mark its position on both the ceiling or wall as well as near your existing light switch for reference. Carefully connect wires from one end of your PIR sensor to these two marked locations using wire connectors. Finally, secure all connections properly and carefully test that everything works before turning back on power supply – ensuring safety always comes first when undertaking any wiring project!
20. Why is my pir sensor not working?
It is crucial to address why your pir sensor may not be working as expected. First and foremost, check all connections and ensure they are securely plugged in. Additionally, make sure that there are no obstructions blocking the sensor's view or causing interference with its signal. It could also be due to low battery power or incorrect placement of the sensor itself. If these factors have been ruled out and your pir sensor is still not detecting motion accurately, it may need to be recalibrated or replaced for optimal performance.


