


Robocraze BEST PRICE GUARANTEED
Couldn't load pickup availability


Technical Support & Easy Returns
Raise a Ticket
Earn RC Coins on Every Purchase
Rewards

Cash on Delivery Available
Cash Delivery
COUPON
When you shop for ₹ 2500 or more.Applicable on Checkout.
*Coupons are not applicable on Original Boards and Kits
- 2 x 8-bit Timers/Counters each with independent prescaler and compare modes
- A single 16-bit Timer/Counter with an independent prescaler, compare and capture modes
- Real time counter with independent oscillator
- 10 bit, 6 channel analog to digital Converter
- 6 pulse width modulation channels
- Internal temperature sensor
- Serial USART (Programmable)
- Master/Slave SPI Serial Interface - (Philips I2C compatible)
- Programmable watchdog timer with independent internal oscillator
- Internal analog comparator
- Interrupt and wake up on pin change
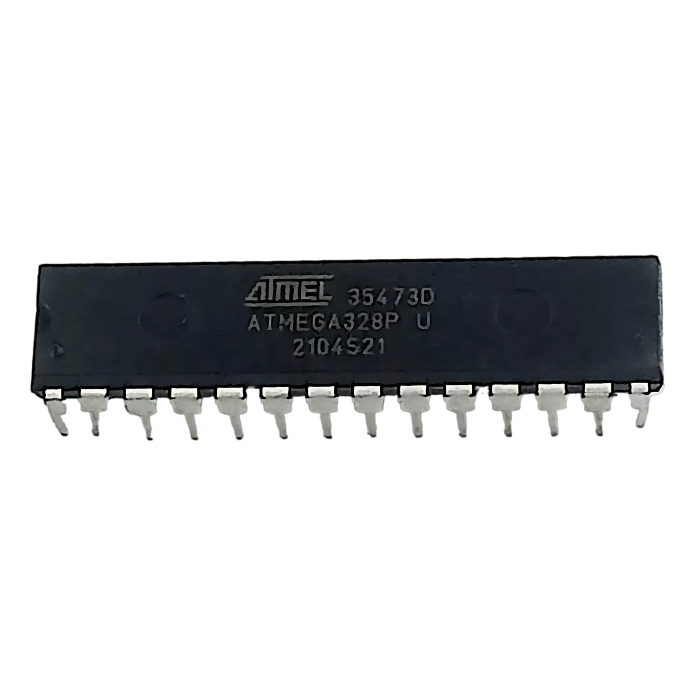
ATmega328P-U PDIP-28 8 BIT Microcontroller IC
The Atmel ATmega328 IC is a 32K 8-bit microcontroller based on the AVR architecture. Many instructions are executed in a single clock cycle providing a throughput of almost 20 MIPS at 20MHz. The ATMEGA328P-U comes in an PDIP 28 pin package and is suitable for use on our 28 pin AVR Development Board. The ATmega328P-U AVR is supported with a full suite of program and system development tools including C Compilers, Macro Assemblers, Program Debugger/Simulators, In-Circuit Emulators, and Evaluation Kits.
Applications:
- Industrial control systems
- Switched-mode power supply (SMPS) and power regulation systems
- Digital data processing
- Analog signal measuring and manipulation
- Embedded systems like coffee machines, vending machines
- Motor control systems
- Display units
Key Features:
- Additional Features Features
- Internal calibrated oscillator
- Power on reset and programmable brown out detection
- External and internal interrupts
- 6 sleep modes including idle, ADC noise reduction, power save, power down, standby, and extended standby
- I/O and Package
- 23 programmable I/O lines
- 28 pin PDIP package
Speed Grades:
- 0-4 MHz at 1.8-5.5V
- 0-10 MHz at 2.7-5.5V
- 0-20 MHz at 4.5-5.5V
Low power consumption mode at 1.8V, 1 MHz and 25°C:
- Active Mode: 0.3 mA
- Power-down Mode: 0.1 ?A
- Power-save Mode: 0.8 ?A (Including 32 kHz RTC)
Pinout:


Shipping & Returns
Shipping & Returns
- All orders confirmed before 3 pm IST are shipped on the
same day, barring rare pickup delays on holidays or disturbances - Delivery time in Metro cities is 1-3 days, Others it is
3-7 days. It varies based on location, reliant on courier services - Return window: 7 days from receipt unless stated
otherwise. No refunds/replacements after - Returns only for non-working/damaged products are accepted
- Initiate return requests to our customer service team via Support ticket or contact us at +91-8123057137
- Refunds are processed within 3-4 working days post inspection and approval.
For more details, please check our Shipping and Return Policy


Found a better price?
Let us know!
We'll try to match the price for you
Package Includes:
- 1 x ATmega328
Specification:
| Package/Case |
PDIP-28 |
| Minimum Supply Voltage (V) |
2.7 |
| Maximum Supply Voltage (V) |
5.5 |
| No. of I/Os |
23 |
| No. of Timers/Counters |
3 Timer |
| Product Type |
8-bit Microcontrollers – MCU |
| Mounting Type |
Through Hole |
| Product Series |
ATmega328P |
| Maximum Clock Frequency (MHz) |
20 |
| Data Bus Width |
8 bit |
| Interface Type |
I2C, SPI, USART |
| Program Memory Size (kB) |
32 |
| Data RAM size and Type |
2kB SRAM |
| Data ROM Size and Type |
1024 B EEPROM |
| Operating Temperature Range (°C) |
-24 to 84 |
| Dimensions |
34 x 7 x 4mm |
| Weight |
0.004 kg |
Specifications:
PDIP-28
Specifications:
2.7
Specifications:
5.5
Specifications:
23
Specifications:
3 Timer
Specifications:
8-bit Microcontrollers – MCU
Specifications:
Through Hole
Specifications:
ATmega328P
Specifications:
20
Specifications:
8 bit
Specifications:
I2C, SPI, USART
Specifications:
32
Specifications:
2kB SRAM
Specifications:
1024 B EEPROM
Specifications:
-24 to 84
Specifications:
34 x 7 x 4mm
Specifications:
0.004 kg
1.What is ATmega328 used for?
- ATmega328 is a popular microcontroller that is commonly used in various projects and autonomous systems where a simple, low-powered, and low-cost micro-controller is needed. It is a single-chip microcontroller based on an 8-bit RISC processor core and is designed by the Atmel corporation. The ATmega328 is used in many different applications because of its affordability and versatility. The most common implementation of this chip is on the popular Arduino development platform, namely the Arduino Uno, Arduino Pro Mini and Arduino Nano models. The Arduino platform provides an open-source platform for creating interactive electronic projects.
2.What are the features of ATmega328?
- ATmega328 is an 8-bit microcontroller that belongs to the AVR family of microcontrollers developed by Atmel (later acquired by Microchip Technology in 2016). It is widely used in various applications, including Arduino boards. Here are some of the features of ATmega328:
- Architecture: ATmega328 uses the advanced RISC architecture with 131 powerful instructions, most of which can be executed in a single clock cycle. It has a modified Harvard architecture with separate memories for instructions and data.
- Clock Speed: It can operate at a maximum clock speed of 20 MHz.
Program Memory: It has a 32 KB ISP flash memory with read-while-write capabilities for in-system programming. - Data Memory: It features 2 KB of Static Random Access Memory (SRAM) and 1 KB of EEPROM.
Pinout: ATmega328 has 28 pins in its package, which can be used as general-purpose input/output (GPIO) lines. It has 23 GPIO pins, including 6 PWM pins. - Timers and Counters: It has three flexible timer/counters with compare modes and an on-chip 2-cycle multiplier.
Analog to Digital Converter: It has a 10-bit ADC with 8 channels. - Communication: It features a programmable serial USART for communication.
- Power Efficiency: It has auto-sleep and an internal temperature sensor that improves power efficiency.
Supply Voltage: It operates at a recommended supply voltage of up to 5.5V, with an absolute maximum of 6V.
3.How to use Atmega328 in Arduino?
- You can use the ATmega328P chip with a microcontroller board like the Arduino Uno. Simply upload your code to the Arduino Uno as usual, remove the ATmega328P from the board, wire it up and use it on a breadboard. The ATmega328P will hold your sketch in its flash memory. To bootload, the ATmega328P fix the chip on a breadboard, connect the crystal to the 9th and 10th pins of the 328, connect two 22pF capacitors to each of the two legs of the crystal and ground them, and connect pin no: 7 and 20 to a 5V pin of Arduino, and pin no: 8 and 22 to the ground of Arduino.
- To program the ATmega328P with the Arduino IDE, first, download the ArduinoISP sketch from File > Examples > ArduinoISP, select the Arduino UNO board from Tools > Board, select the port from Tools > Port, and upload the ArduinoISP sketch to your board. After successful uploading, connect the ATmega328P to your Arduino board and select the correct board and port from the Tools menu, and upload your sketch as you would with any other Arduino board.
- Download the breadboard.zip file and extract it. Open the Arduino IDE, go to Tools > Board > Boards Manager and search for MiniCore. Restart your IDE after installing the most recent version. Select the ATmega328 board under Tools > Board, and choose the clock you intend to use.
