How to Simulate Arduino in Proteus
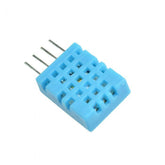
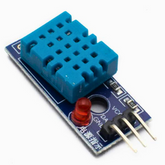
In this blog, we will introduce the Proteus Simulation software by simulating interfacing DHT11 with Arduino.
Proteus 8 Professional has been used for the rest of this tutorial.
It also demos how we can test out our results in a simulation before implementing it on hardware.
Proteus Setup
Open the Proteus and click on the schematic capture icon on the top left corner.
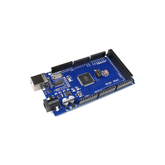
Navigate to the components section on the left bar and select the components required (Arduino, DHT11 and serial monitor).
The virtual terminal/serial monitor is available in the instrument selector section as shown below(highlighted with yellow colour).
Suppose any of the above instruments are not available in the component section they’re corresponding proteus library will have to be downloaded which must include three extensions (.HEX, LIB, IDX)
Copy both lib and IDX to the proteus library(In this case the location is ’ C:\Program Files (x86)\Labcenter Electronics\Proteus 8 Professional\DATA\LIBRARY’), and after that, the component would be available.
Connect the DHT11 sensor to the Arduino board. Ensure proper connections and make note of the Arduino pin (it will be required for the code later on).
After interfacing, the circuit should look like this.
Save the above circuit and let's move to Arduino IDE for coding the above application.
CODE
#include<DHT.h>
DHT dht(2,DHT11);
void setup() {
// put your setup code here, to run once:
Serial.begin(9600);
dht.begin();
}
void loop() {
// put your main code here, to run repeatedly:
float t=dht.readTemperature();
float h=dht.readHumidity();
Serial.println("Temperature-");
Serial.println(t);
Serial.println("Humidity-");
Serial.println(h);
delay(5000);
}
Enter the above code into the Arduino IDE and compile/verify it. After verification is done successfully, locate the .hex file as shown below(you will find the hex file in the error and information window of Arduino ide)
Copy the above .hex file and open the previously saved Proteus circuit.
Double click on the Arduino and paste the .hex file location in the program file option as shown below.
Clicking on the run button on the bottom left corner of the page will start the simulation as shown below
You can change the value of both the temperature and humidity by using the up and down arrows on the sensor and notice the changes in the serial monitor/virtual terminal.
This blog has been submitted by Cyborg, NIT Rourkela under the Robocraze Club Outreach Program.
Authors: Pratik & Samantaray


