


Robocraze FREE SHIPPING BEST PRICE GUARANTEED
Couldn't load pickup availability


Technical Support & Easy Returns
Raise a Ticket
Earn RC Coins on Every Purchase
Rewards

Cash on Delivery Available
Cash Delivery
COUPON
When you shop for ₹ 2500 or more.Applicable on Checkout.
*Coupons are not applicable on Original Boards and Kits
- Includes four pairs of Geared Motors and Wheels.
- Ideal for building Bluetooth-controlled toy robot cars or Arduino cars.
- Offers an attractive design and is suitable for ages 5+.
- Perfect for beginners and advanced users.
- Easy to assemble and disassemble with a double-layer structure and multiple mounting holes for customizations.
- High-quality components ensure durability.
- Suitable for various terrains and learning experiences.
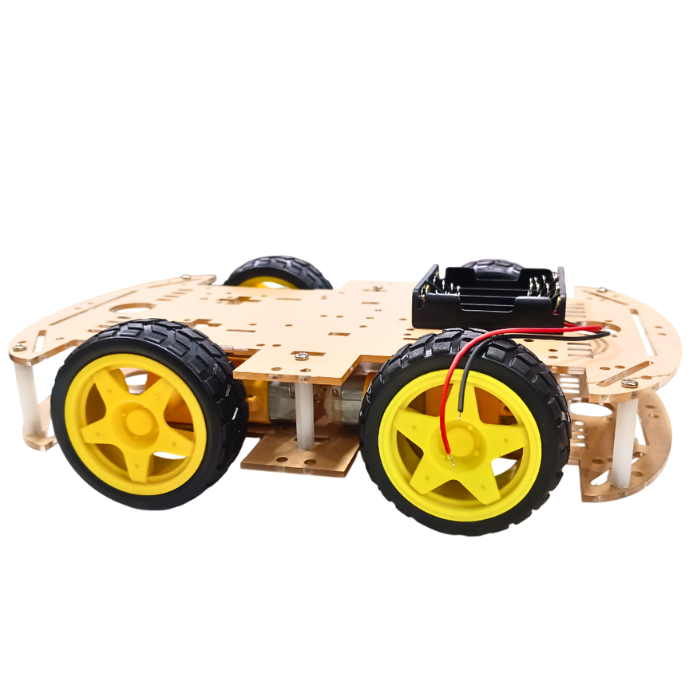
4WD Four Wheel Drive Kit - A Smart Robot Car with Chassis
If you are interested in robotics or DIY electronics projects then you would benefit greatly from this transparent double-layer smart car chassis kit. It is designed for students, learners, and beginners who prefer DIY education.
You can focus on your projects without being sidetracked by challenging tasks due to it's easy to assemble and disassemble features. Its high-grade components have been built to withstand heavy use, so you'll have lots of chances to test your designs completely.
This 4wd robot chassis kit includes four pairs of Geared Motors and Wheels, providing the power and mobility your robot needs.
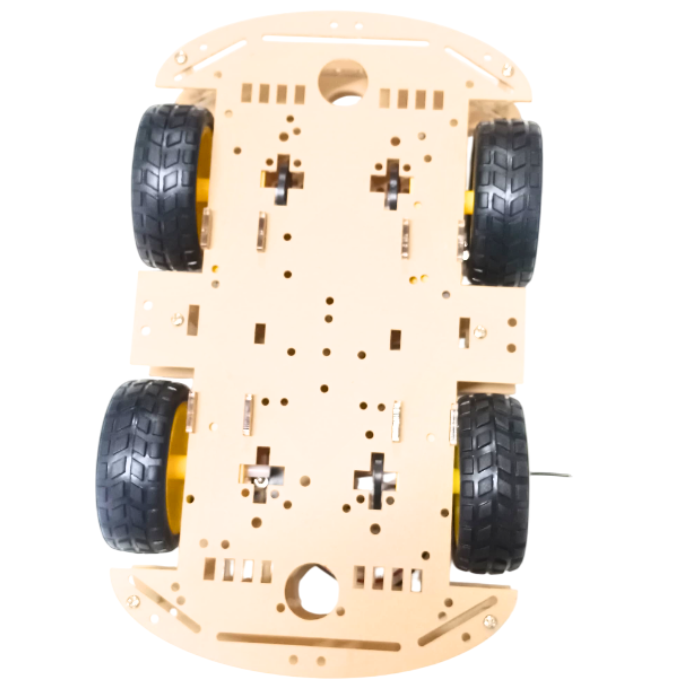
It is very easy to make adjustments due to its transparent chassis which provides visibility into the inside. Adequate space is provided in this 4 wheel chassis kit for the integration of sensors, control panels, and other components by its dual-layer construction and numerous mounting points.
Whether you're working on a more complex project or starting with a little robot, this smart RC car chassis kit aims to make robotics fun and approachable.
Get 2WD Robot Car Kit – Includes Chassis & Motors
Features:
- Very handy and simple to assemble/disassemble.
- Strong components to withstand extreme terrain conditions.
- Transparent Car Chassis.
- Attractive design.
- Double-layer structure, many mounting holes, enough space
- Easy to install a variety of control panels, sensors
- Educational toys, Ideal for the DIY platform
- Best DIY robotics car for students and makers for DIY projects
Applications:
- Ideal for DIY robotics projects
- Suitable for beginners and advanced users
- Can be used to build Bluetooth-controlled toy robot cars or Arduino cars
- Encourages creativity and experimentation
- Perfect for educational purposes
- Built with high-quality components for durability
- Suitable for various terrains and learning experiences

Shipping & Returns
Shipping & Returns
- All orders confirmed before 3 pm IST are shipped on the
same day, barring rare pickup delays on holidays or disturbances - Delivery time in Metro cities is 1-3 days, Others it is
3-7 days. It varies based on location, reliant on courier services - Return window: 7 days from receipt unless stated
otherwise. No refunds/replacements after - Returns only for non-working/damaged products are accepted
- Initiate return requests to our customer service team via Support ticket or contact us at +91-8123057137
- Refunds are processed within 3-4 working days post inspection and approval.
For more details, please check our Shipping and Return Policy


People Also Buy
Arduino UNO DIY Line Follower Kit compatible

Four in One Bot

DIY 2WD Mini Round Robot Car
Found a better price?
Let us know!
We'll try to match the price for you
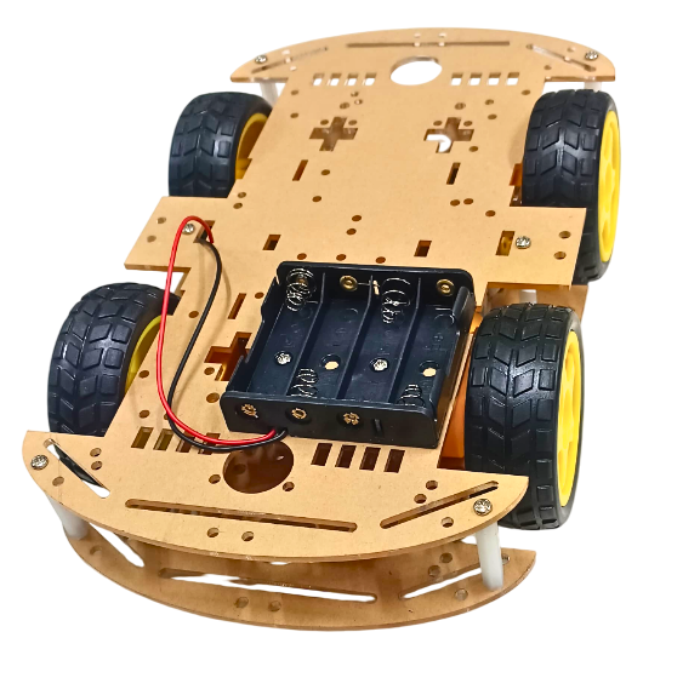
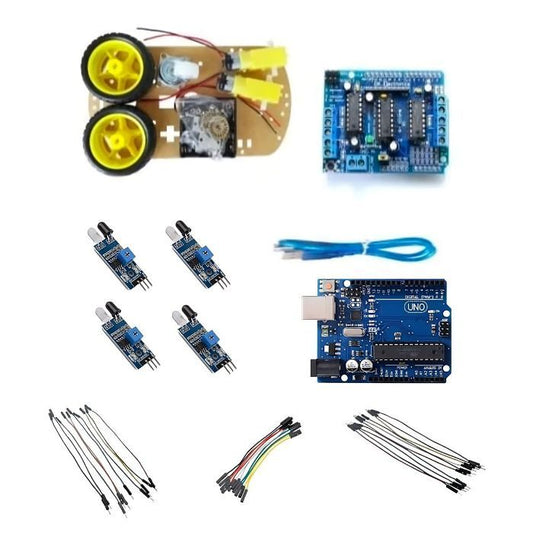
Package Includes:
2 x Acrylic Transparent car floor
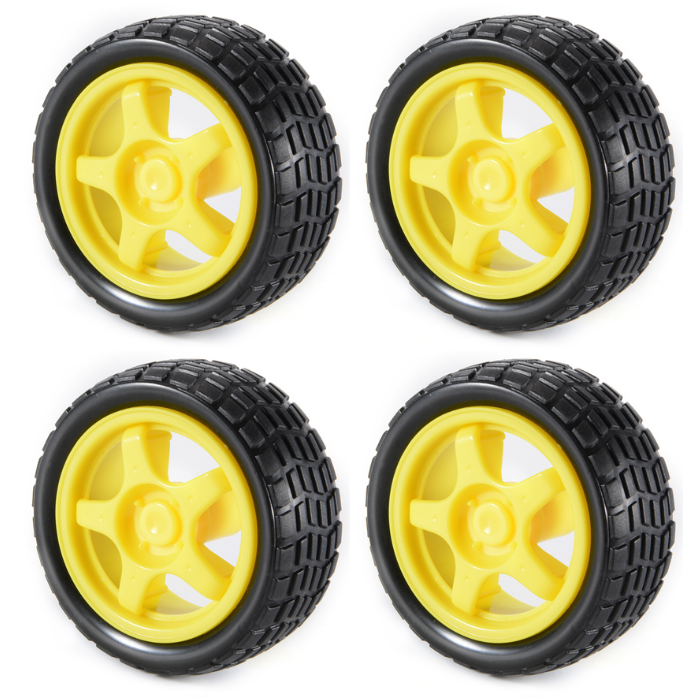
4 x High-Quality 65-mm Plastic wheels with Rubber Grip
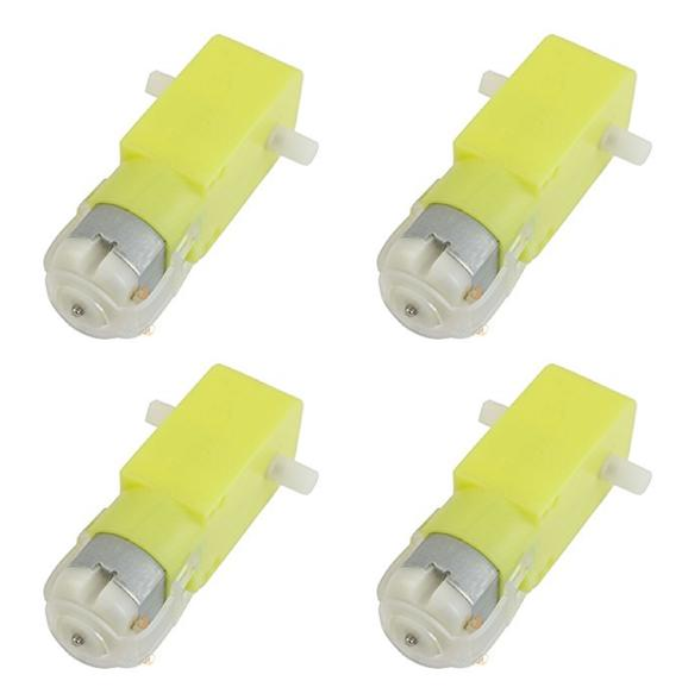
4 x Dual shaft 200 RPM BO Gear Motor
4 x Coded Disk
8 x Acrylic Fasteners
1 x 4-AAA Battery Holder
8 x Connecting Cable(Red and Black, Length: 20 cm each)
4 x M3 Brass Stand-Off
8 x M3 Cross-Head Bolt (Length: 8 mm )
8 x M3 Cross-Head Bolt Plastic (Length: 30 mm )
8 x M3 Nut
Specifications:
| Operating Voltage (VDC) |
3 ~ 6 |
| Shaft Length (mm) |
8.5 |
| Shaft Diameter (mm) |
5.4mm-(round side) and 3.5mm-(flat side) |
| Rated Speed After Reduction (RPM) |
200 |
| Rated Torque (Kg-Cm) |
0.8 |
| Gearbox Shape |
Straight |
| Dimension |
70 x 19 x 22mm |
| Weight |
250gm |
Specifications:
3 ~ 6
Specifications:
8.5
Specifications:
5.4mm-(round side) and 3.5mm-(flat side)
Specifications:
200
Specifications:
0.8
Specifications:
Straight
Specifications:
70 x 19 x 22mm
Specifications:
250gm
1. How do you make a 4-wheel drive robot?
Gather materials: The following supplies are required to build your robot car. If you're unsure of the exact dimensions of each component, read through the instructions to get a sense of how they fit together.
- 4 BO motors
- 4 wheels
- Arduino board, a microcontroller (the Arduino Uno is a good choice for beginners)
- Motor driver circuit or the motor driver shield (found in remote-controlled toy cars)
- 6-volt batteries and a battery holder (e.g. four AA batteries) chassis:
- A sheet of plexiglass or acrylic, measuring around 6.5 by 4.5 inches (16.5 by 11.5 cm).
2. Attach the wheels and motors to the chassis: Each wheel should be attached to a different motor. As shown, hot glue the engine to the chassis: Mark 4 spots, one on either side of the chassis' one end. Each location on the upper side of the chassis should have one motor glued over it. To allow the wheel to roll along the ground, make sure it hangs over the edge.
3. Glue on the battery holder: On the upper side of the chassis, in between the wheels, add a little amount of hot glue. Let the battery holder set after pressing it. 4. Attach the motor driver circuit: Place the motor driver circuit close to one of the chassis' sides such that the wires droop over the edge. 5. Position the Arduino: Put some glue on the chassis and tuck the Arduino next to the driving circuit. Make sure the connector for plugging the Arduino into the PC is accessible while situating it.
2. What is 4wd robot chassis?
It is simple to assemble and use. The Chassis kit includes everything you need to give your robot a fast four-wheel-drive platform with plenty of room for expansion to add different sensors and controllers.
3. Is the assembly of the smart robot car kit difficult?
No, the kit is easy to assemble and disassemble with a double-layer structure and clear instructions provided.
4. Can I customize the robot car?
Yes, the kit features multiple mounting holes and a double-layer structure, allowing for easy customization with various control panels and sensors.
5. Is this kit suitable for educational purposes?
Absolutely, this kit is ideal for educational purposes as it encourages creativity, experimentation, and learning in robotics.
6. Does the kit include all necessary components for assembly?
Yes, the kit includes everything you need to build the robot car, including motors, wheels, chassis, fasteners, and connecting cables.
